Make Chrome trust your self-signed Root CA on macOS

Problem

Harbor: Self-signed certificates are suitable for quick localhost tests, but they are not recommended for production or shared environments.

Chrome shows “Not Secure” for my test Golden Gate 23ai setup, where I decided to use a self-signed certificate:

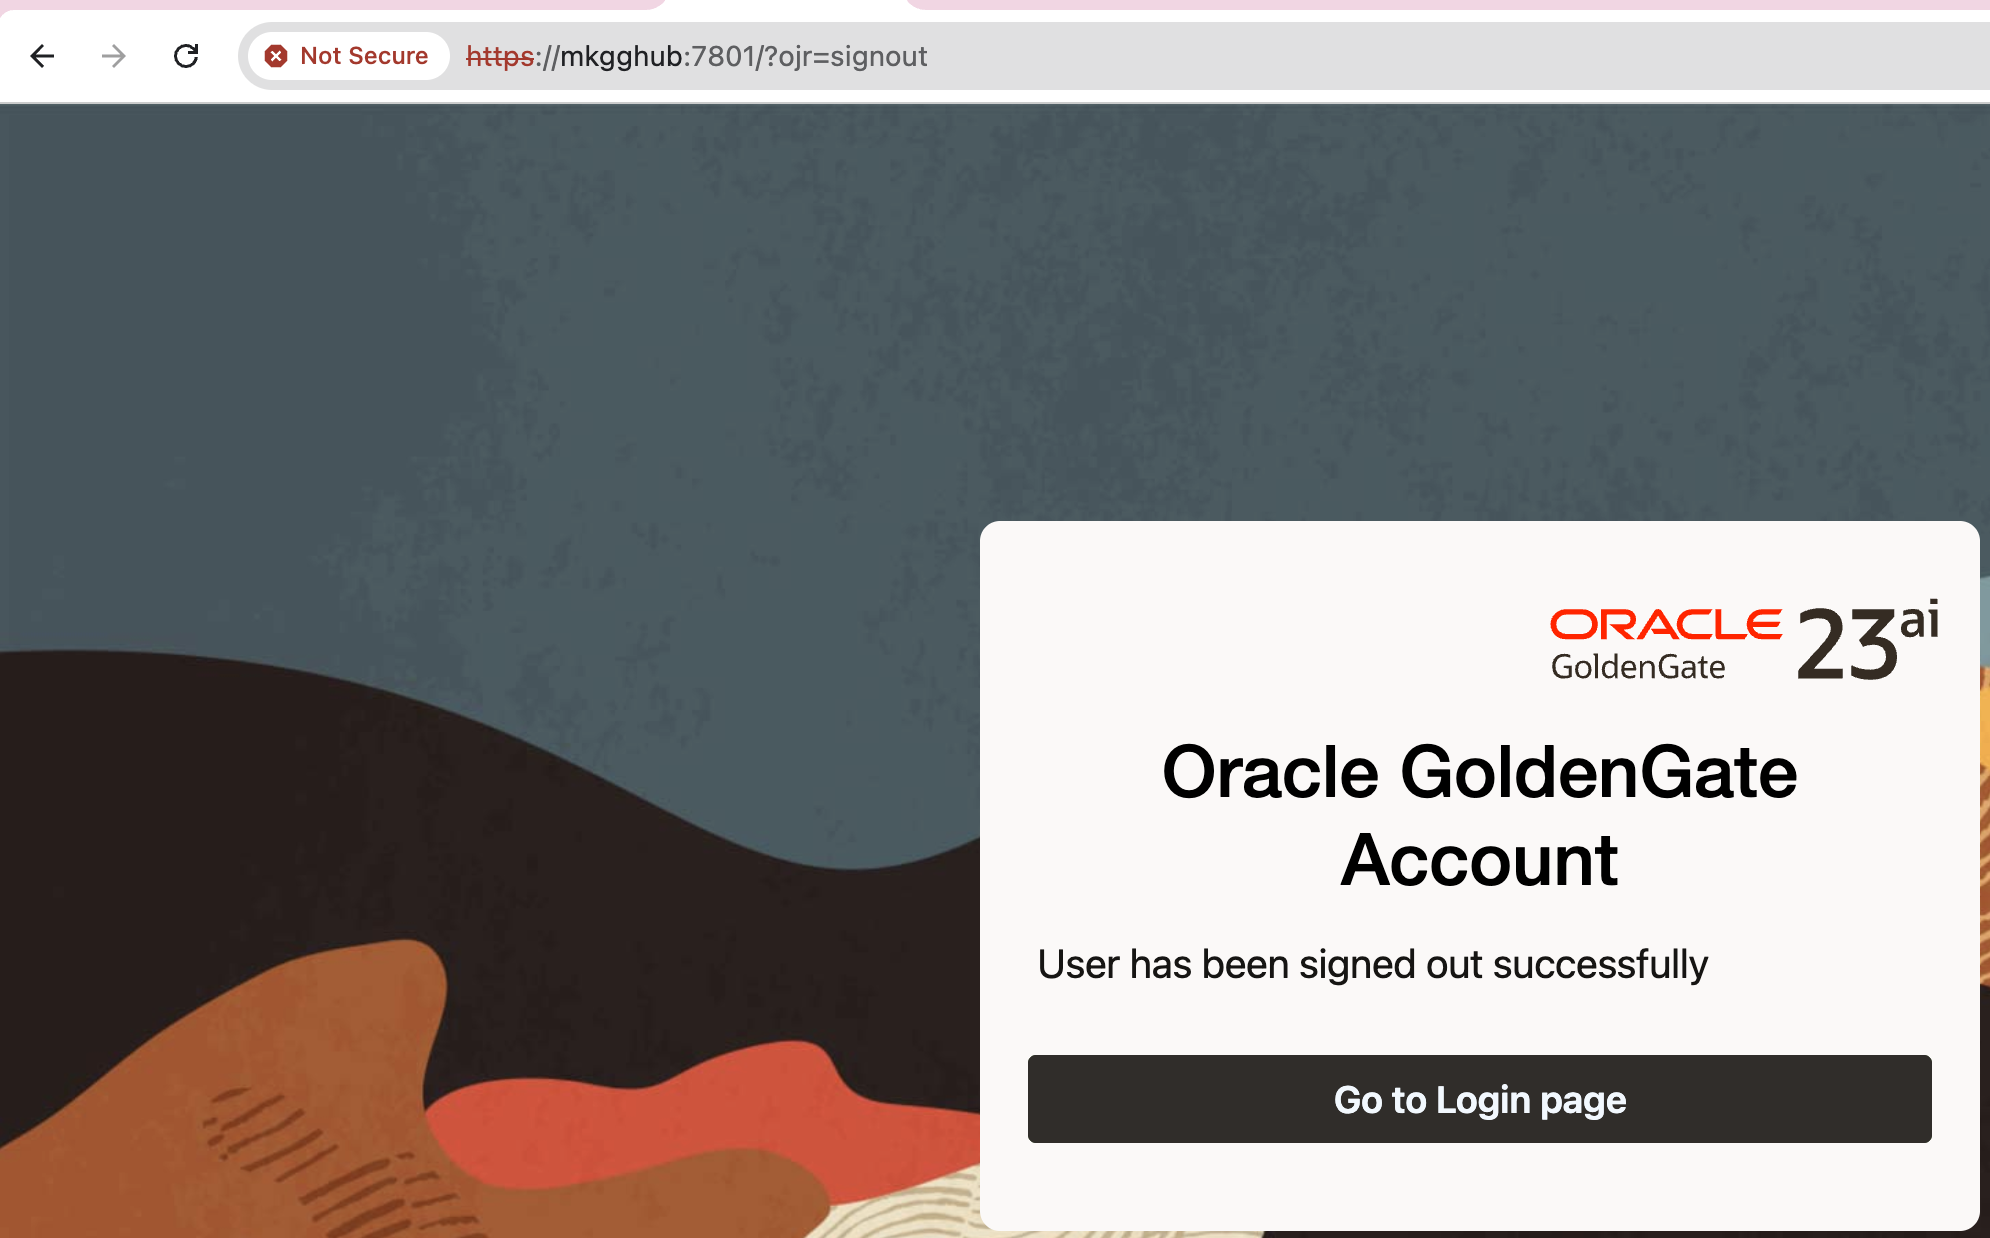
Chrome does not trust the issuer (my self-signed Root CA), which is normal.

Solution

We need to trust Root CA on macOS. For the command line, please see below.
I will start by explaining the GUI version for better visibility. However, I also have a simple command available, please check below.

  • Open Keychain Access -> System keychain -> File -> Import Items… -> pick ca-cert.pem.

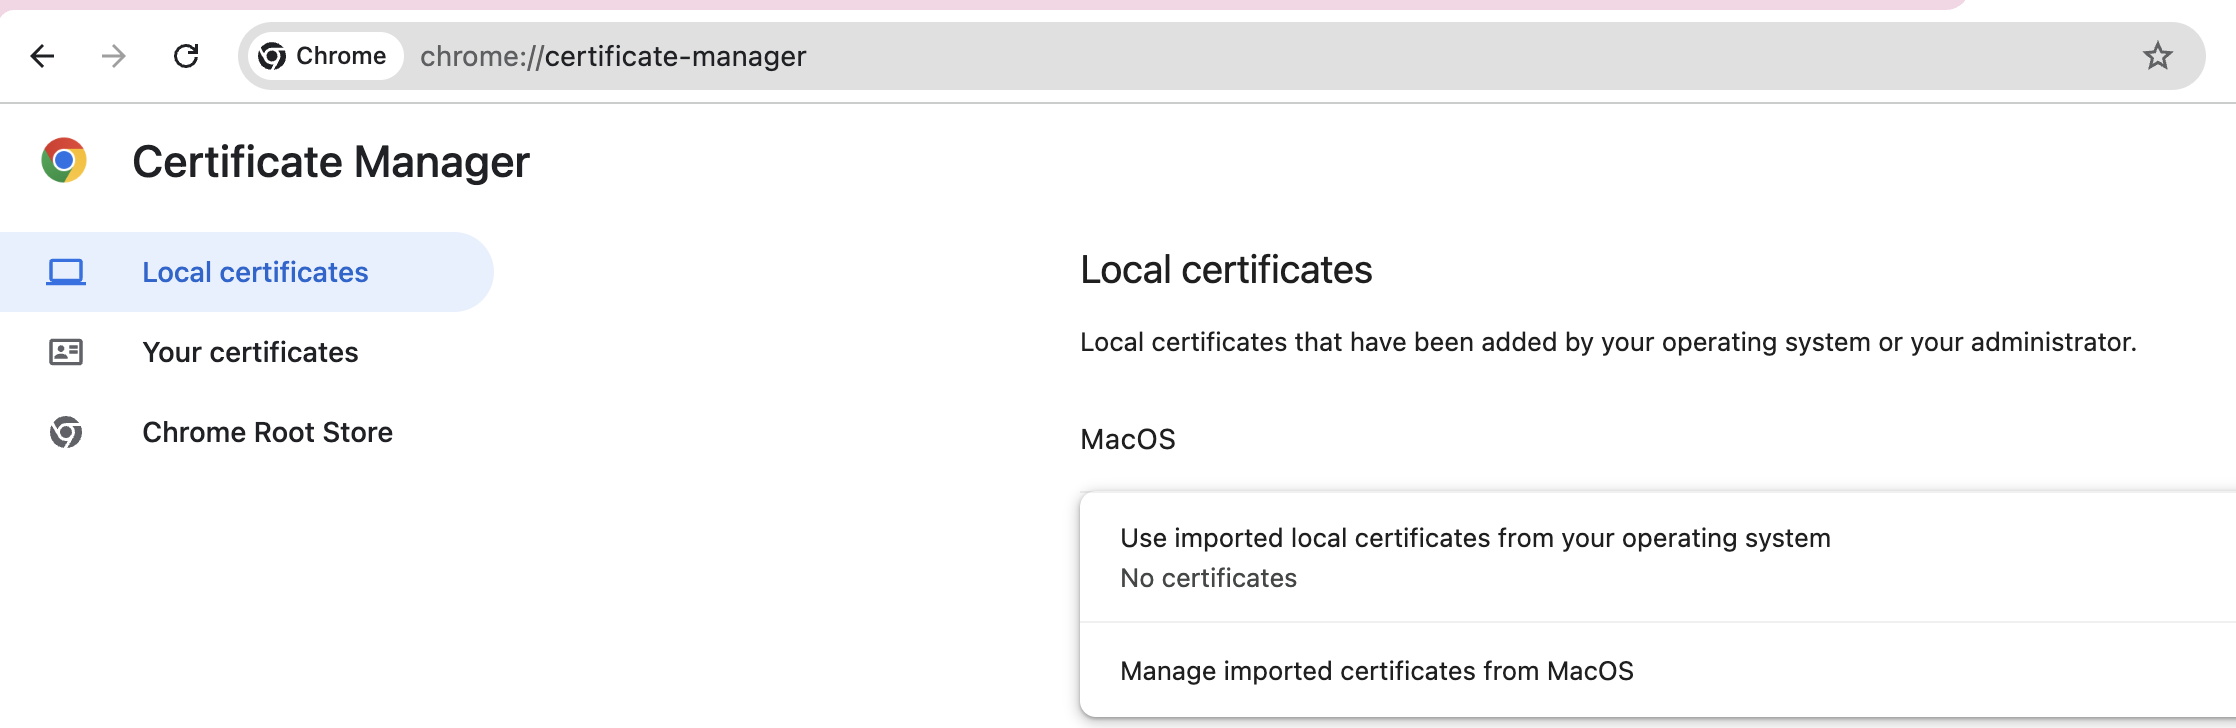
If you cannot find Keychain Access, then type chrome://certificate-manager/ in URL and click Manage imported certificates from MacOS

On the pop-up window, choose Open Keychain Access:

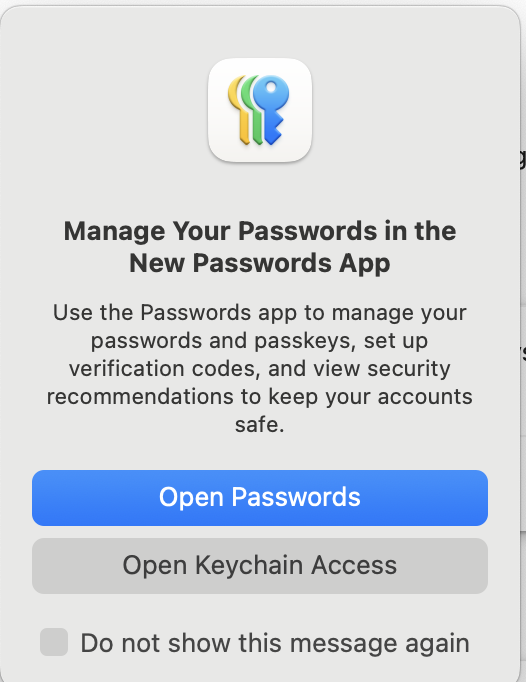
Since you are in the right section, now you can check the steps that I provided before.

  • Double-click the CA -> Trust -> When using this certificate: Always Trust.
  • Quit & reopen Chrome.

CLI equivalent:

$ sudo security add-trusted-cert -d -r trustRoot \
  -k /Library/Keychains/System.keychain ca-cert.pem

Running the above command will install ca-cert.pem in the correct location. You still need to restart Chrome.

After restarting the Chrome, here is the result:

Note: Make sure your server certificate includes a Subject Alternative Name (SAN) for the exact hostname you’re visiting (e.g., mkgghub). CN alone isn’t enough for modern browsers.

Database Express Setup: This site can not be reached

Note: These steps are for TEST non-production databases only.

Configuring/enabling EM express on HTTPS should be simple, by running only:

SQL> exec DBMS_XDB_CONFIG.SETHTTPSPORT(5500);

But after configuring it you may still not be able to access the web page and show the error “This site can’t be reached”

The reason for this can be permissions on the wallet files:

[grid@rac1 ~]$ ll /u01/app/oracle/product/19.3.0/dbhome_1/admin/orcl/xdb_wallet
total 8
-rw------- 1 oracle asmadmin 3864 Apr 15 17:40 cwallet.sso
-rw------- 1 oracle asmadmin 3819 Apr 15 17:40 ewallet.p12

The correct permission is 600, but when database is on top of ASM with role separation, then group should also have read permission on these files:

[root@rac1 ~]# chmod 640 /u01/app/oracle/product/19.3.0/dbhome_1/admin/orcl/xdb_wallet/*

After changing it, the web page is displayed.

Configure SSL Connections on Report Server(https)

You must have a server certificate installed on the computer. Ask for the certificate to your sysadmins(windows admins), or request a certificate from a trusted certificate authority.

The following steps do not include instructions for requesting, generating, downloading, or installing a certificate. You must have a certificate installed and available to use.

So let’s start.

1. Run Reporting Services Configuration Manager and connect to the reporting server.

2. In Web Service URL section –> SSL Certificate –> choose your certificate –> click Apply.

3. Report Manager URL section –> Advanced button –> Multiple SSL identities for Report Manager section –>

click Add button –> in Certificate choose your certificate and click OK –> OK.

4. Stop and Start your Reporting service, from the first section of the configuration manager.

5. Check that the URL works by indicating https instead of http.