Add new virtual machine in VBox and install Oracle Linux

Intro:

This blog post belongs to my student at Business and Technology University Ivane Metreveli, thank you Ivane for participating in this project.

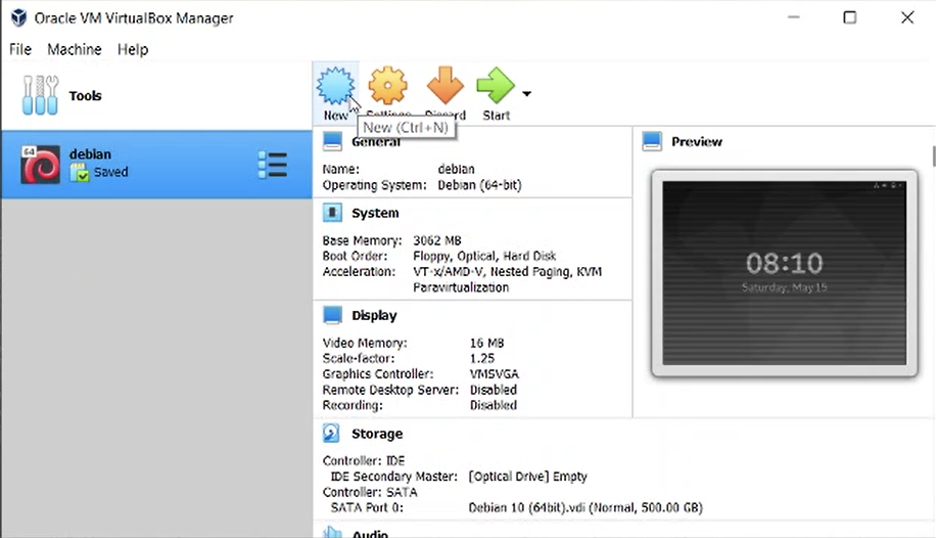
  1. First of all, you need to download Oracle Linux iso file from edelivery.oracle.com or from oracle.com. After that, run VirtualBox, click New button and create new virtual machine:

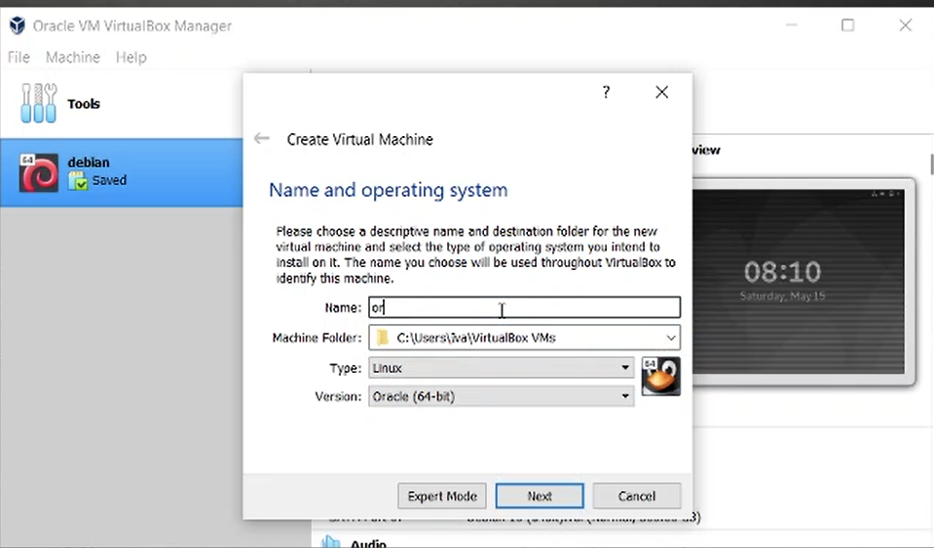
2. Set Name of the Virtual Machine and select operation system as follows, click Next

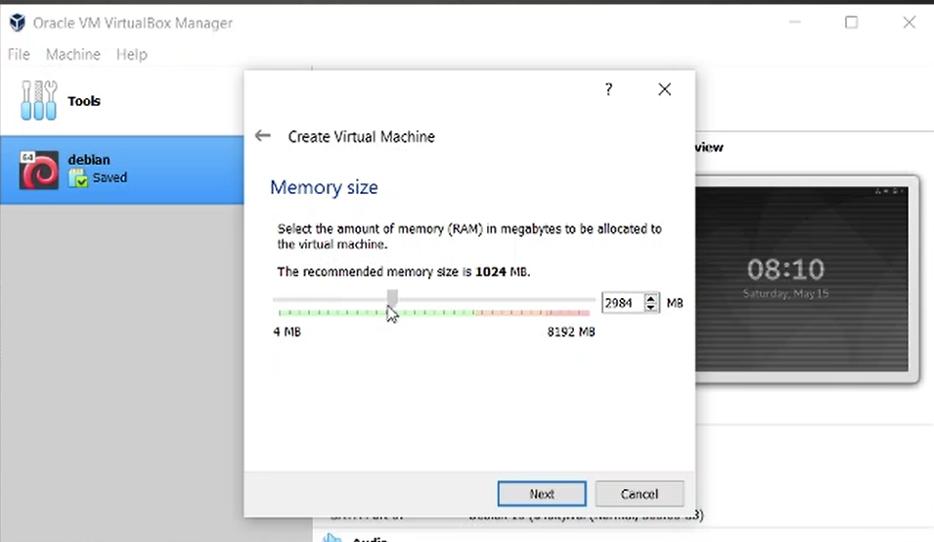
3. Select appropriate RAM amount, 3GB RAM is recommended for normal processing, click on Next button and jump to next step

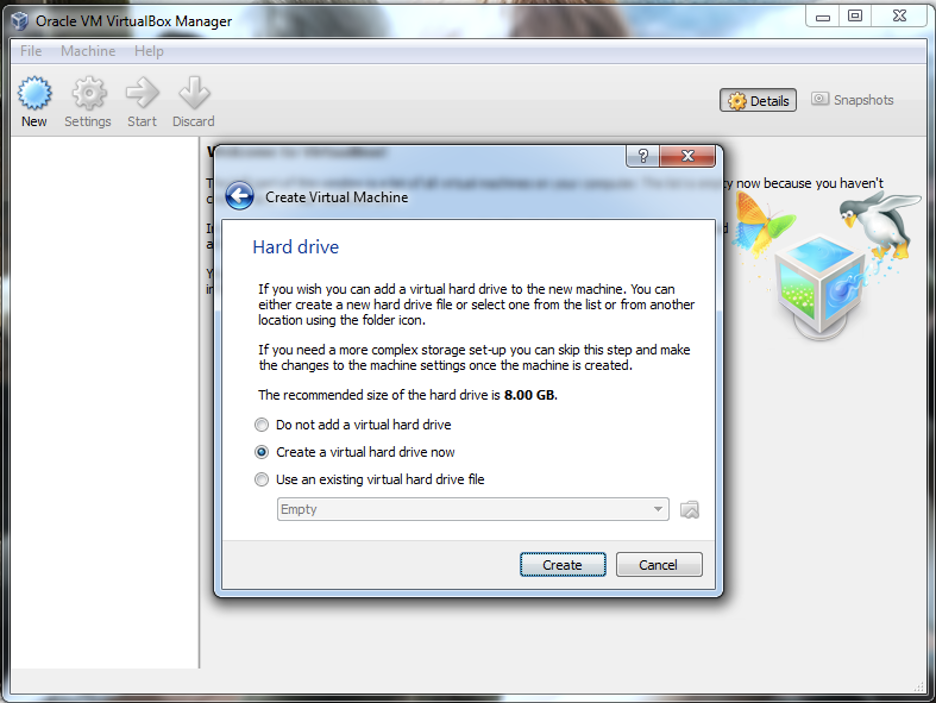
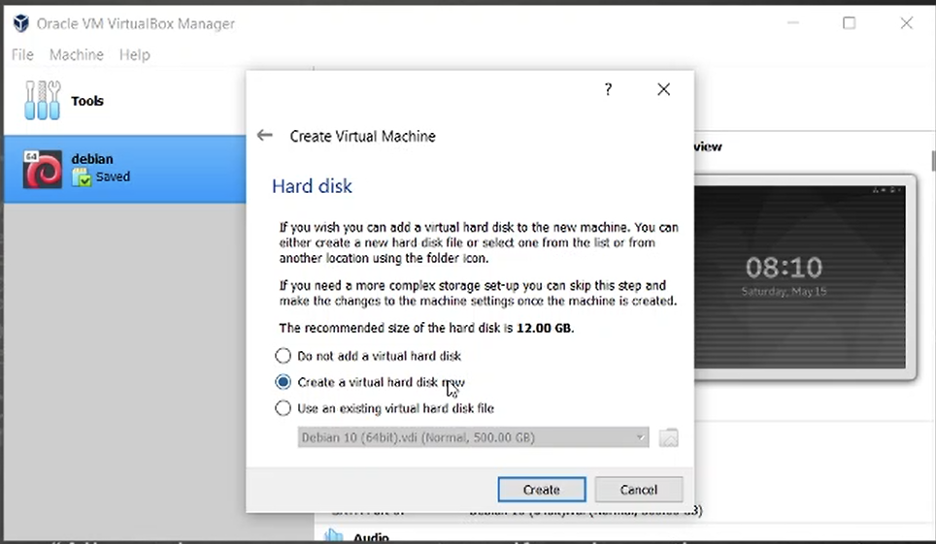
4. Now, Select Create a virtual hard disk now option and click Create button

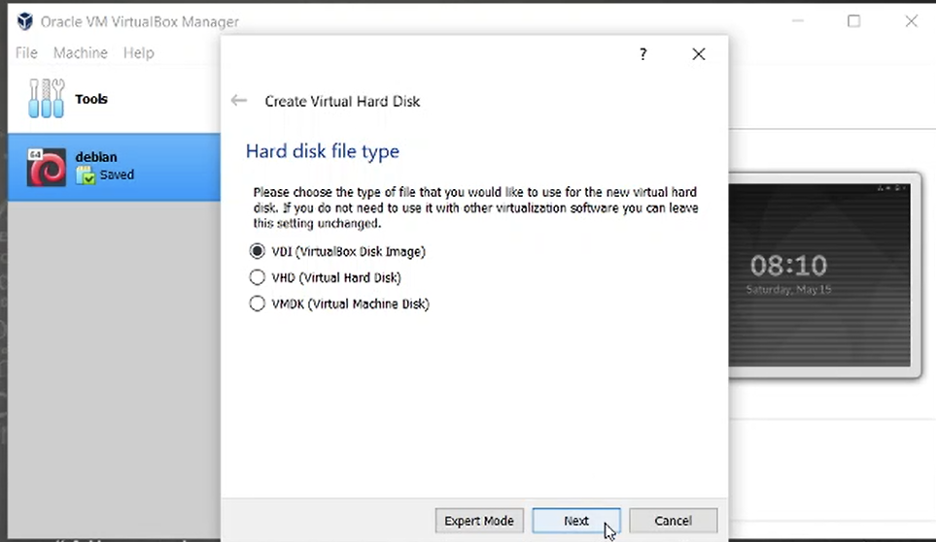
5. Select VDI(virtualbox Disk image)

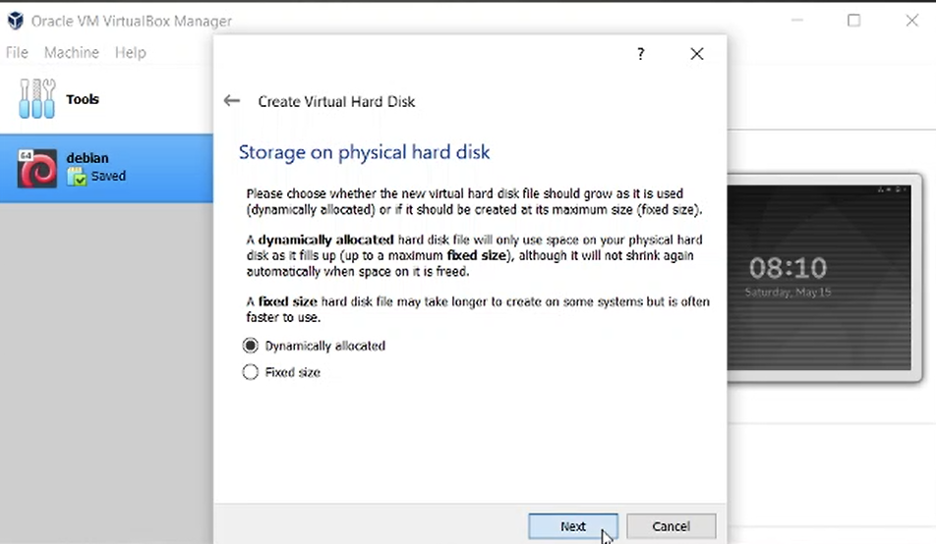
6. Select Dynamically allocated if you don’t want take hard disk space immediately

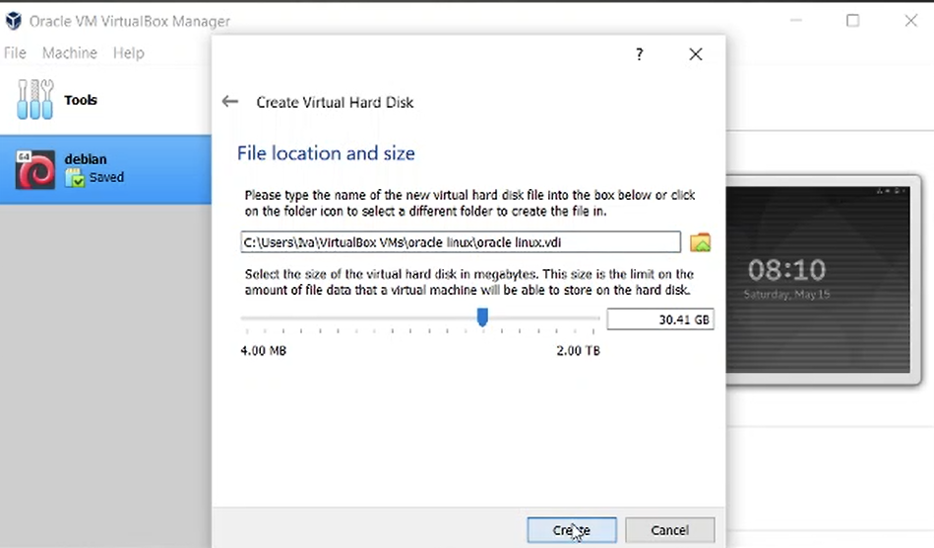
7. Select file size (disk size for VB) and the location, click Create button to finish virtual machine creation process

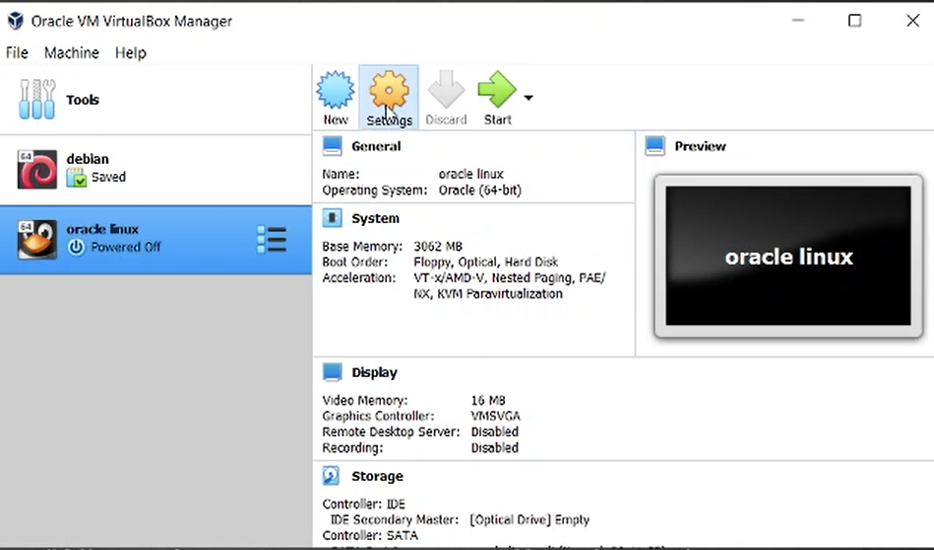
8. Virtual machine is already is created. Before we open/start VM, we load iso file in the machne, click Settings and follow me

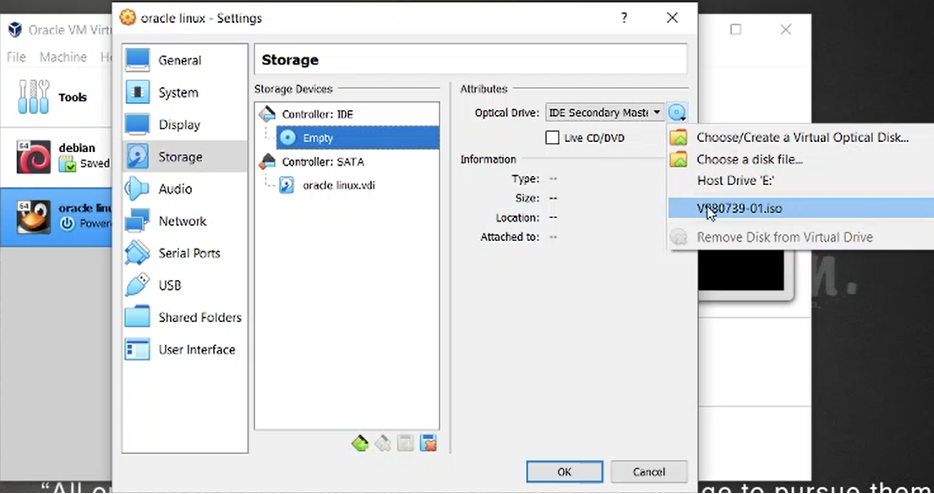
9. Navigate to Storage and click CD icon,  on the right side of the window, under attributes, click CD icon and add virtual machine’s .iso file.

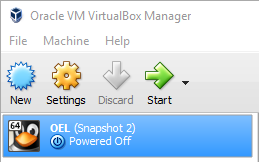
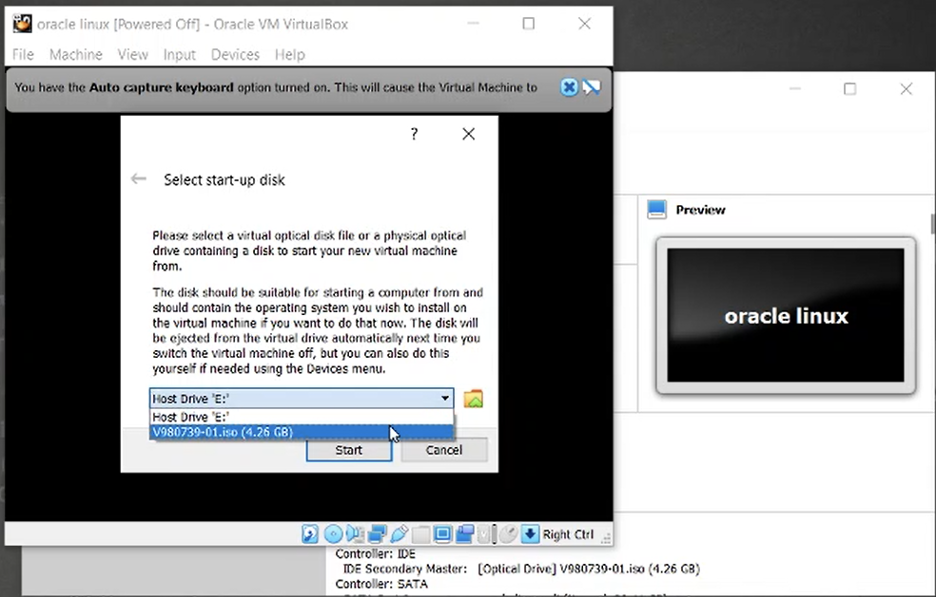
10. After that, you can click start button

11. Select .iso files or click folder icon and open folder where .iso file is located, select it and click start

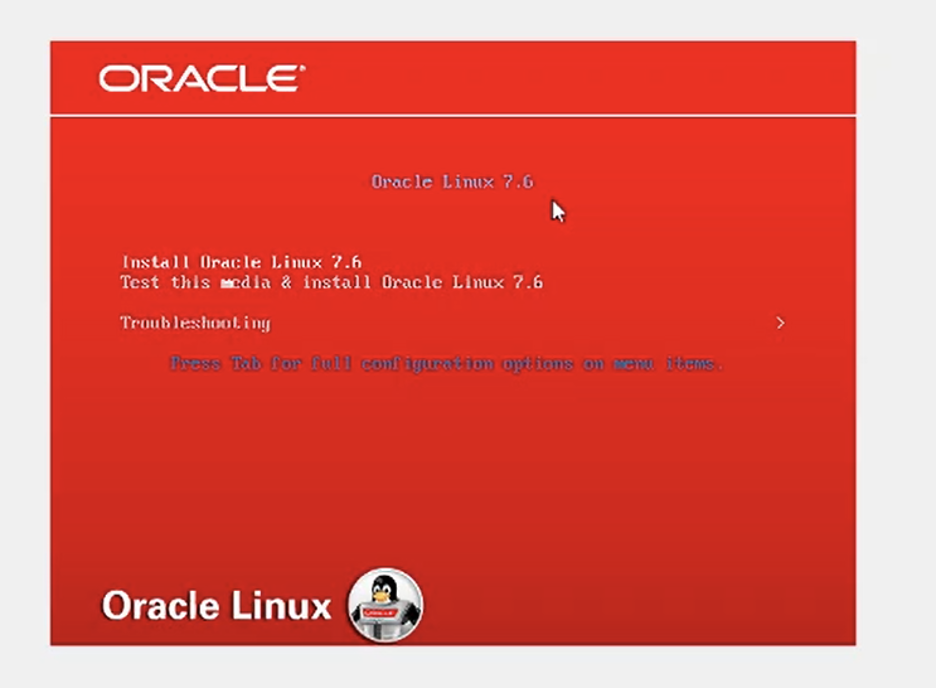
12. Next step is OS installation process, here you select Install Oracle linux 7.6 and click enter to start installation process:

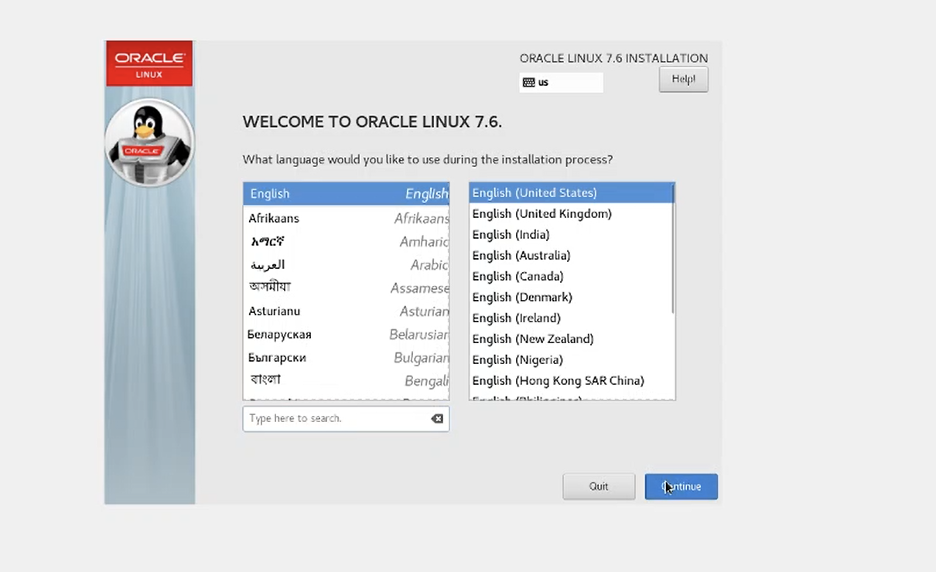
13. Select system language and click continue

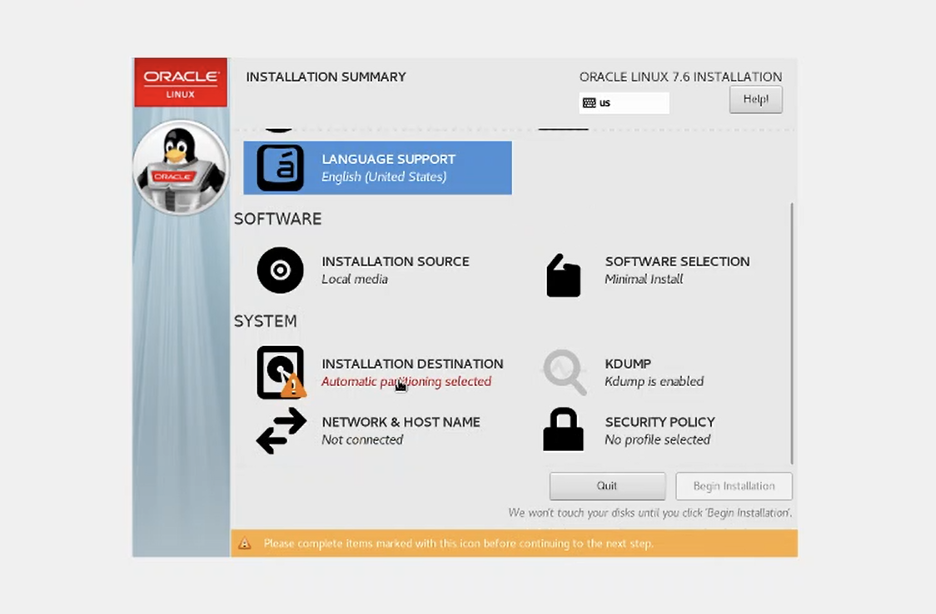
14. Select installation destiantion

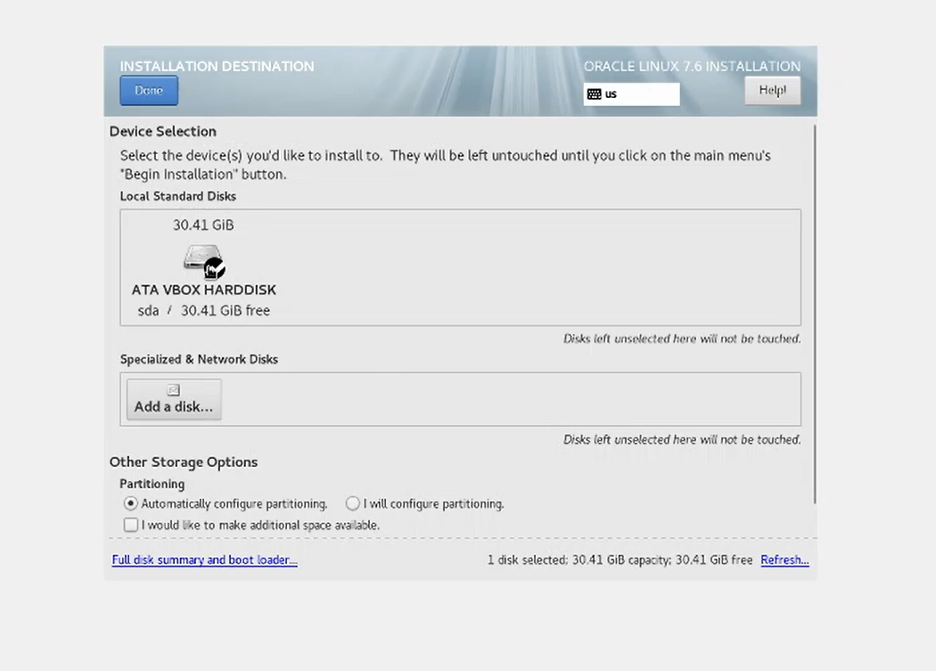
15. Select the disk where you want to install system. You can select virtual disk, that you have created in the previous step or add a new one. Select disk and click Done button;

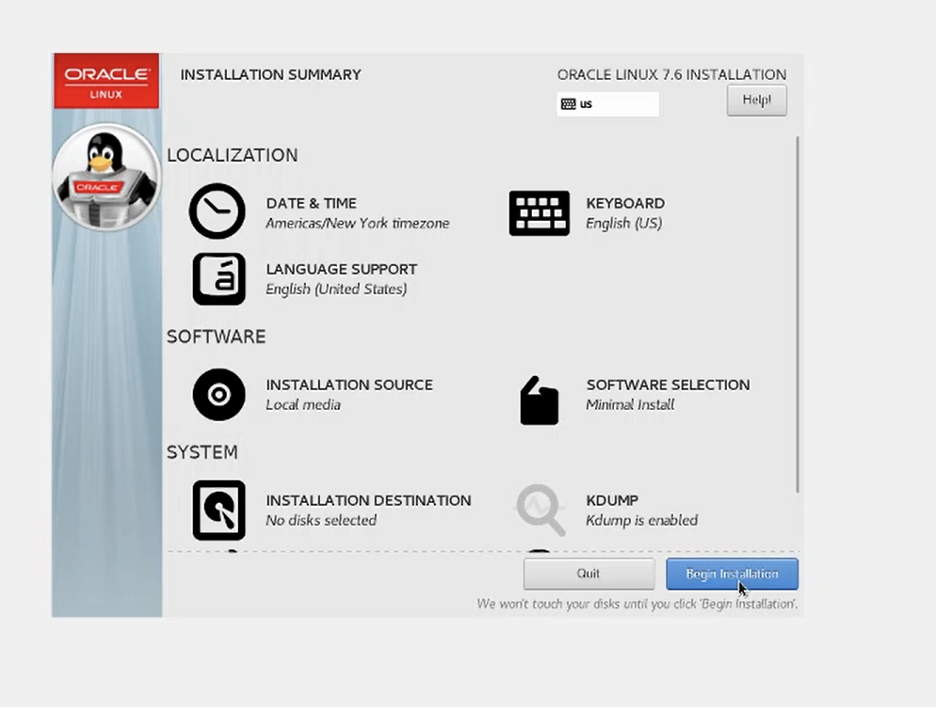
16. Now all parameter is ready. Click Begin Installation and wait for finishing the process

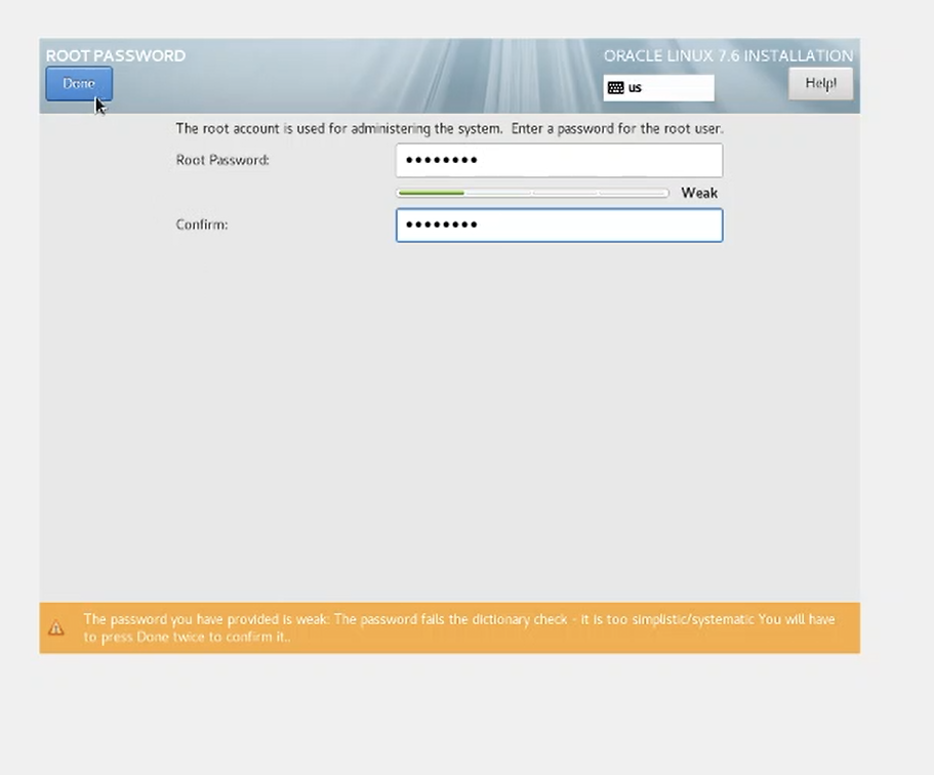
17. Set password and click Done

18. Installation is in progress, need to wait more

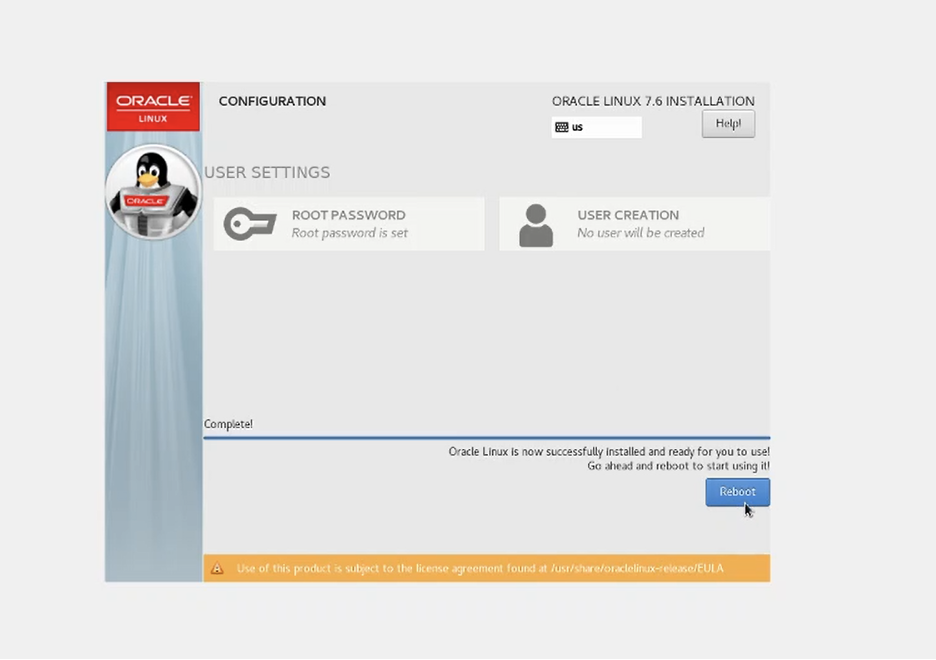
19. Installation proess is finished, click Roboot button and move to the next step:

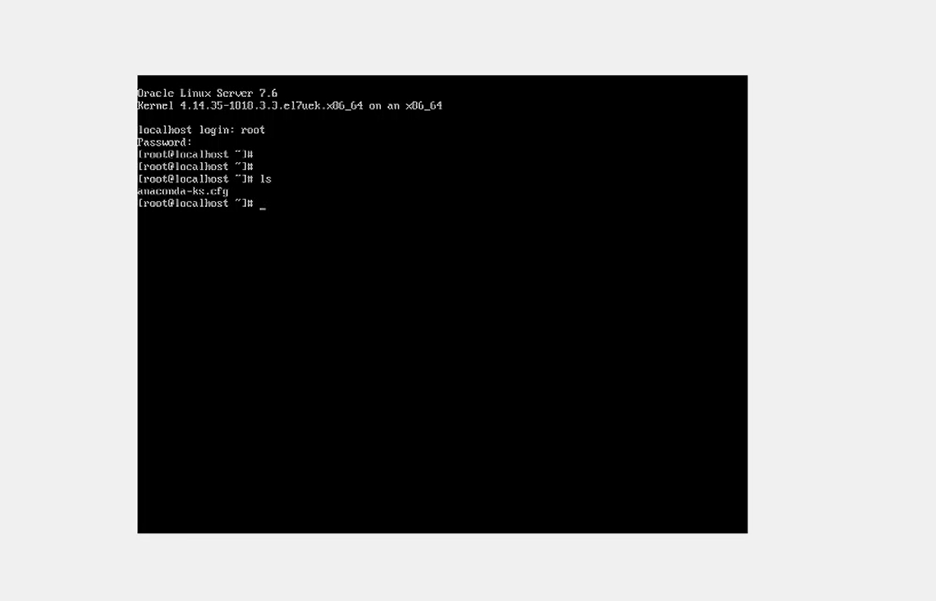
20. Installation is finised now, you can start working with Oracle Linux:

Install Linux in Virtual Box

Intro:

This blog post belongs to my student at Business and Technology University Saba Lapanashvili, thank you Saba for participating in this project.

Requirements:

– VirtualBox
– Linux iso file ( For example Linux Mint 15 )

Step 1: Choose System Type

– After installing VirtualBox, click New
– Fill the Name field: e.g Linux Mint 15
– Select Type: Linux
– Select Version: Ubuntu

Step 2: Select the Amount of RAM

– Select the amount of RAM, e.g 2048 MB = 2 GB

Step 3: Configure Hard Disk Settings

– Choose Create a virtual hard drive now, to make a virtual disk space
– Select the VDI 
– Choose Dynamically allocated
– Select the amount of hard drive size

Step 4: Choose Linux ISO File

Now we have done hardware settings

– Click Start to launch system
– Choose your system iso file from your computer, for example my system iso file is (linuxmint-15-cinnamon-dvd-64bit.iso)

Step 5: Install Linux and Make Account

– Click on the Install Linux Mint
– And select Erase disk and install Linux Mint
– Then press Install Now
– Make your account
– Press Continue

Step 6: Congratulations

Congratulations now you have Linux on your Windows.

Virtualbox connect from host to guest via ssh and enable internet on guest

  1. Open Oracle VM Virtualbox Manager

    virtualbox_manager

  2. Place the cursor on the machine that you want to configure and press the button Settings.
    -> Network -> Adapter 1-> check Enable Network Adapter -> in Attached to choose NAT.
    -> in Advanced section -> press Port Forwarding  -> in Port Forwarding Rules, press addition button ->
    Fill the rule , by the following way:
    Host IP: (leave blank)
    Host Port: 22   (or any port that your host has free)
    Guest IP: (leave blank)
    Guest Port: 22

    vm_settings
    rules

  3. Start up the VM and connect to the guest using ssh.
    Hostname: localhost (or your machine name)
    Port: 22 (it is the same that we have indicated during rule configuration field Host Port)

    putty

  4. If you are not using proxy, than you can think that the post finished for you. You can connect to the guest from os and also you have an internet on your guest.

    But if proxy is used then you should configure parameter http_proxy.
    You can enter this variable information in every user’s  ~/.bash_profile or you can do it globally in /etc/profile file.

    #add the following entry in profile file

    [root@oracle01 ~]# vi /etc/profile
    export http_proxy=http://proxyservername.domain.ge:8080

    Logout and login for changes to take effect.